20 Kitchen Appliance Organization Ideas That Free Up Counters
Your toaster, air fryer, and stand mixer all earn their keep, but they can also swallow your counter whole. These kitchen appliance organization ideas help you give every machine a proper home, whether you have a tiny apartment kitchen or a roomy family one. Some are quick fixes, some take a weekend, and all of them are things you can actually do.
1. Appliance Garage
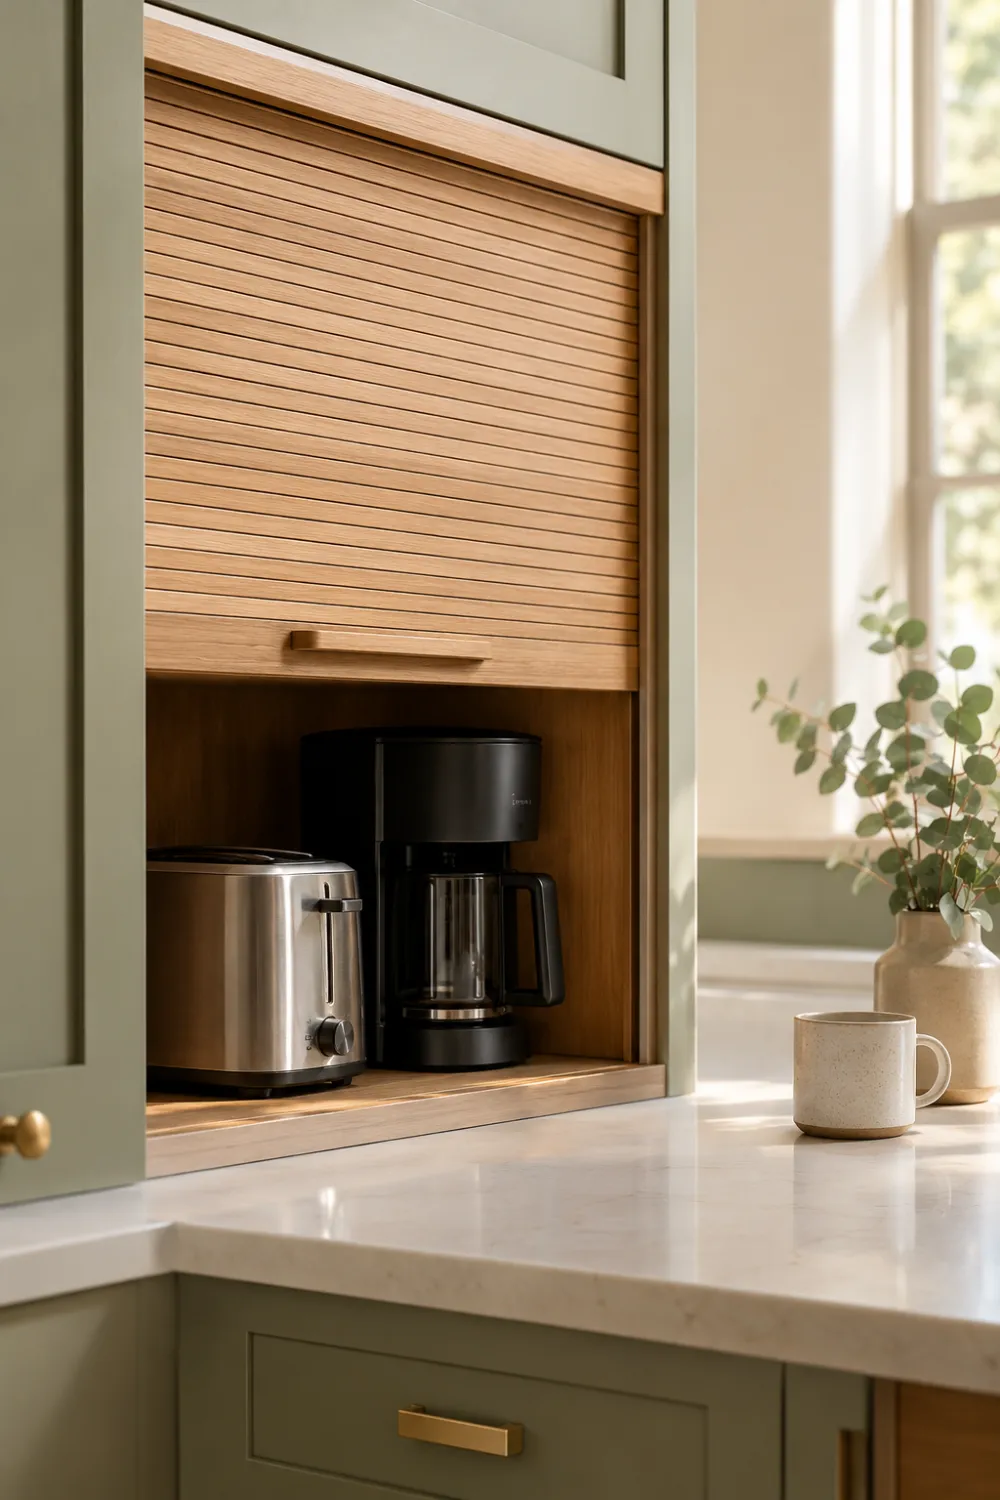
An appliance garage is a little cabinet nook on the counter with a roll-up or flip-up door. Your toaster and coffee maker live inside, plugged in and ready to use. Close the door and the counter looks clean again.
If you’re not remodeling, you can fake it. A small freestanding cabinet with a tambour door fits in a corner and works nearly as well. Just leave a few inches of air around anything that gets hot.
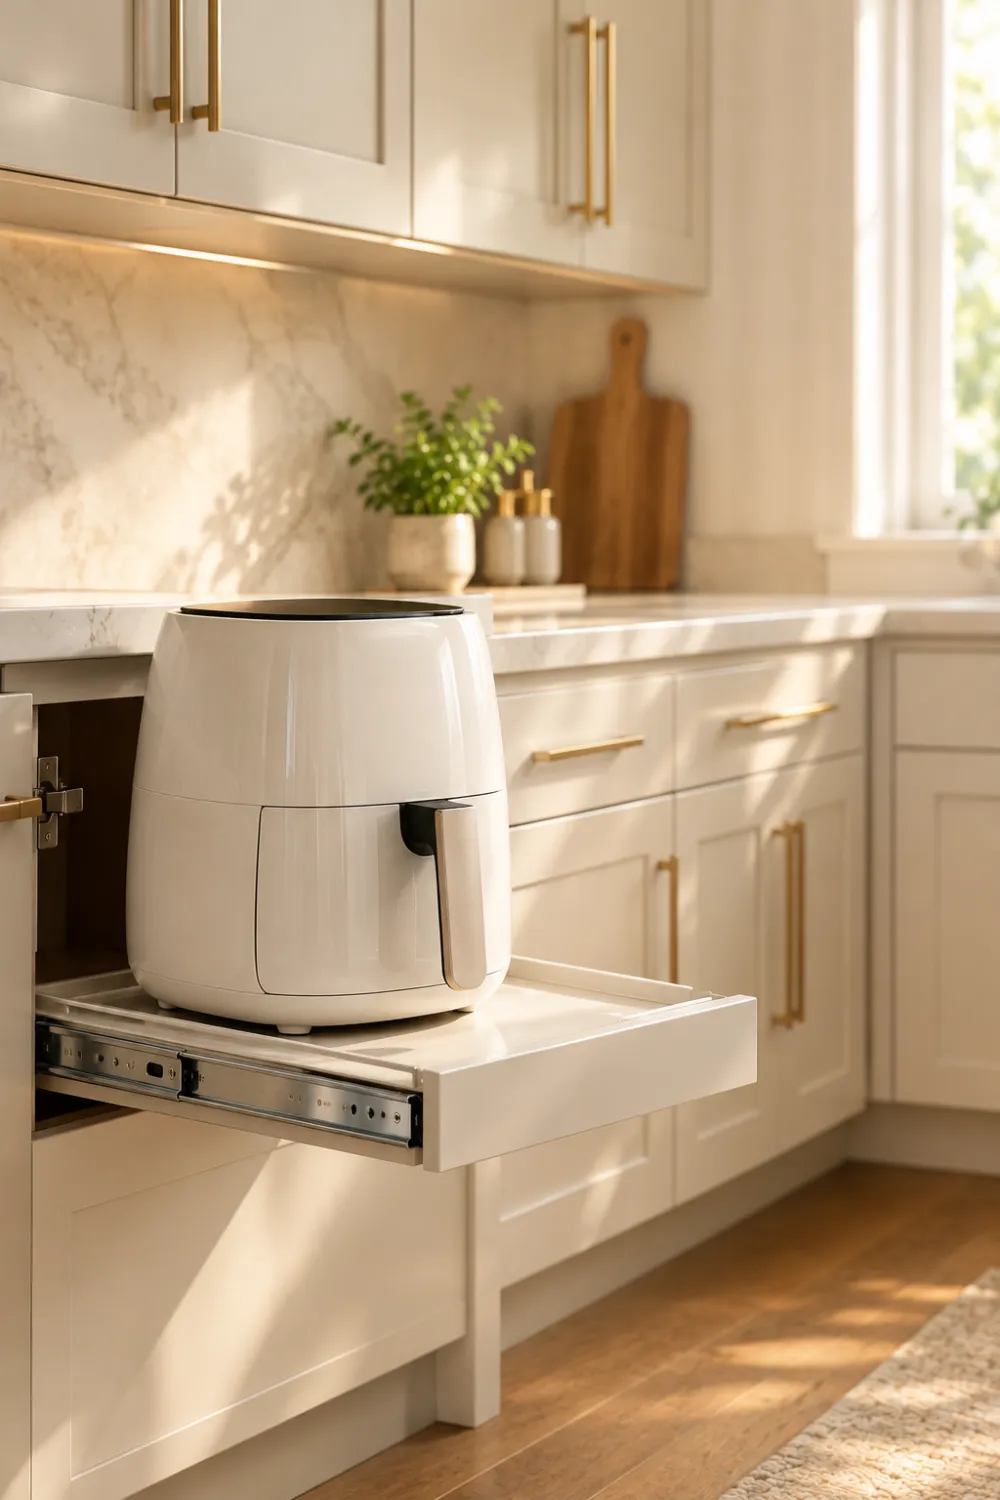
2. Pull-Out Mixer Shelf
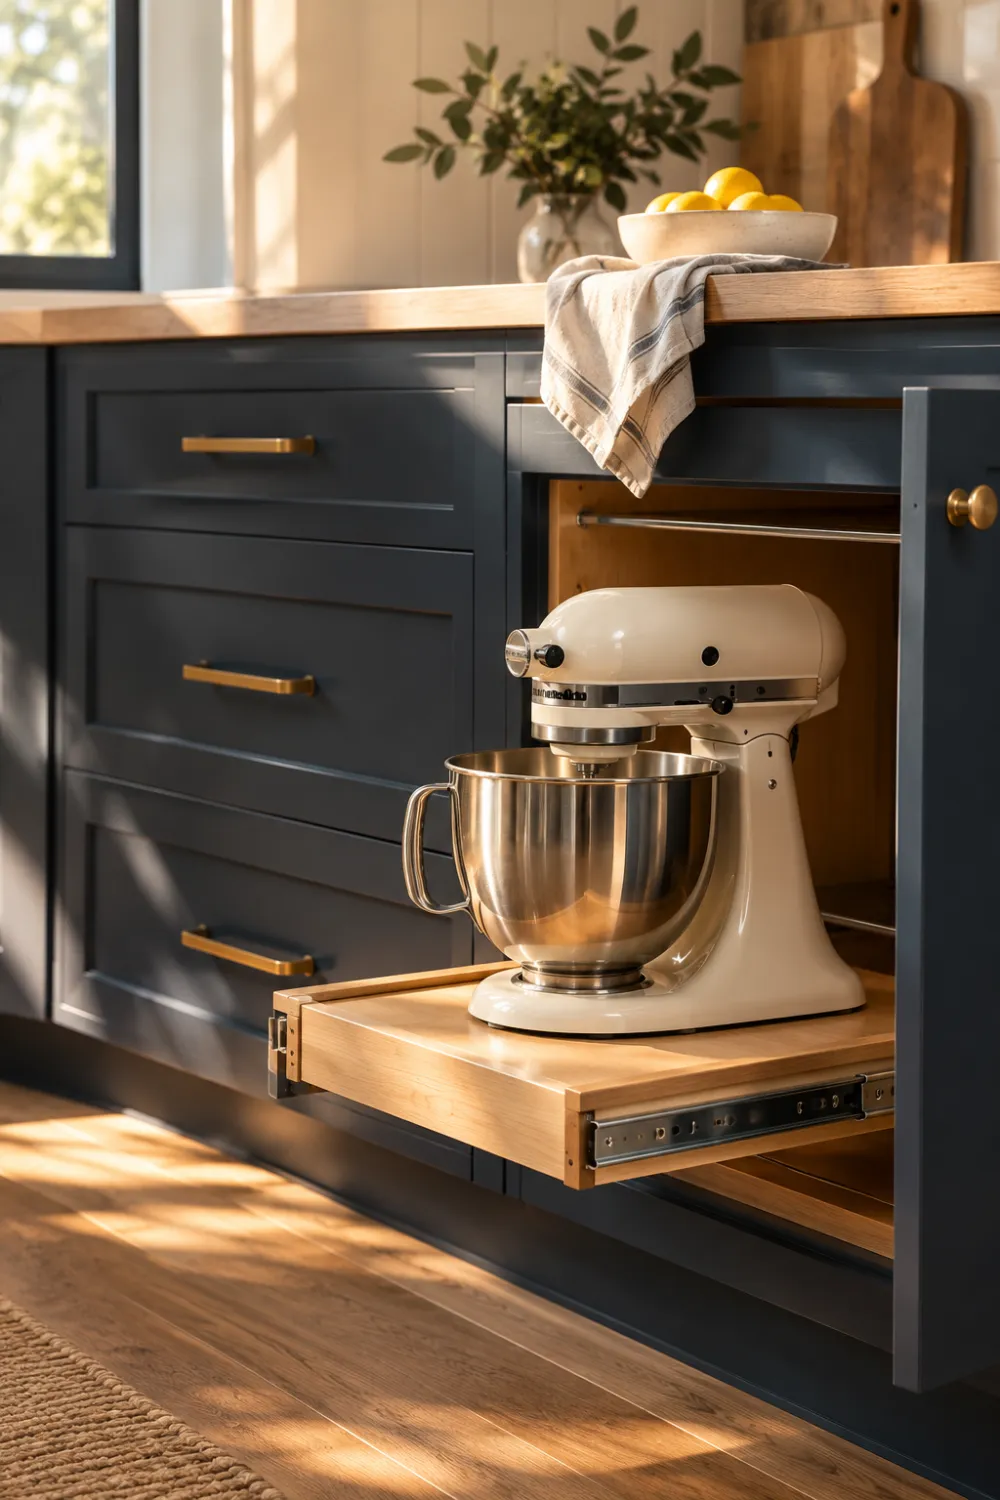
Stand mixers weigh a ton. Lifting one out of a deep cabinet every time you bake gets old fast. A pull-out shelf slides the whole mixer toward you, so you never have to lift it.
Pick a shelf rated well above your mixer’s weight. Heavy-duty full-extension slides are worth the extra money here. Your back will thank you.
3. Lazy Susan Corner
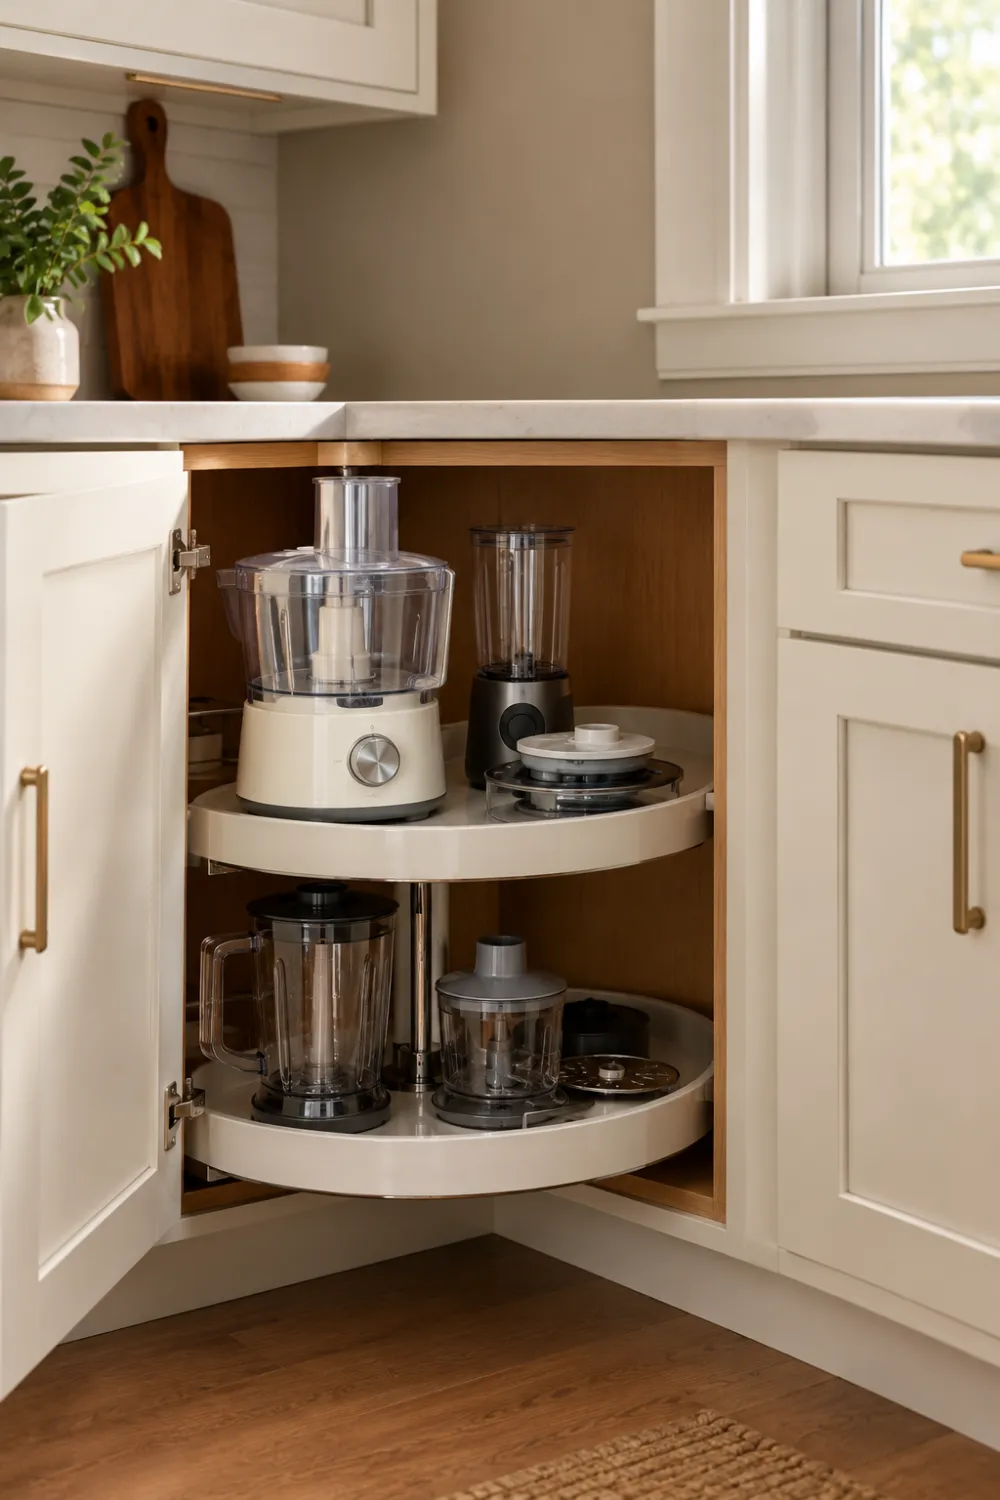
Blind corner cabinets are where blenders go to be forgotten. A lazy susan turns that dead space into something you can actually reach. Spin it, and the food processor comes right to you.
Go for a tall, two-tier version if you have lots of small machines. Keep the heaviest ones on the bottom tier so it spins smoothly.
4. Rolling Cart

A slim rolling cart is perfect when you own more appliances than cabinets. Park it beside the fridge and load it with your slow cooker, rice cooker, and waffle maker. Roll it out when you need them.
It’s also great for rental kitchens, since nothing gets drilled into the walls. Look for locking wheels so it doesn’t drift while you’re pulling out a heavy pot.
5. Appliance Sliders

These are small trays or mats with wheels or a slick bottom. Put one under your air fryer or blender, and it glides forward for use and slides back after.
It sounds minor, but it’s a lifesaver on deep counters. You stop dragging appliances across the surface and scratching it. Keep the sliders on the machines you use often, like the coffee maker.
6. Cord Wraps
Tangled cords make a cabinet feel messy, even when the appliances are neatly stacked. Reusable Velcro ties or small cord winders fix that in minutes.
Wrap each cord when you put the appliance away. A label on the tie helps if you have lookalike plugs. Mixers and hand blenders with long cords benefit the most.
7. Outlet Inside the Cabinet

Here’s a trick that feels like a luxury. An outlet inside an appliance cabinet or drawer lets you keep the toaster or coffee maker plugged in and tucked away. Pull it forward, press the button, done.
This needs an electrician, so treat it as a renovation idea. If you’re already updating your kitchen, add it to the list. It’s one of the nicest small upgrades you’ll make.
8. Coffee Station Tray
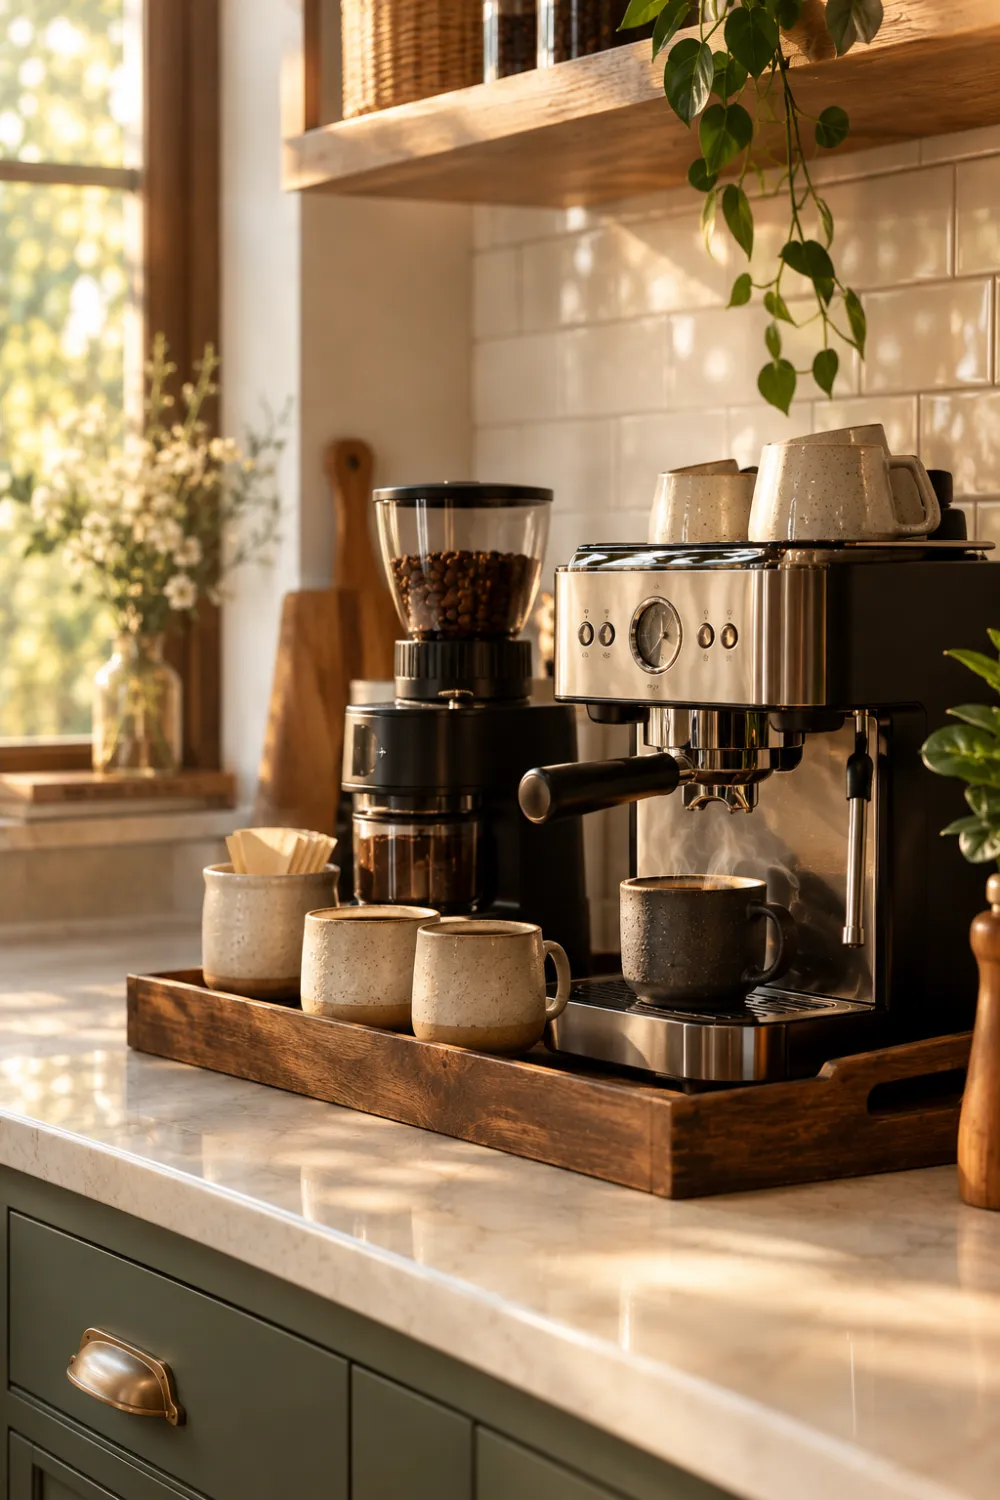
Coffee gear spreads everywhere: the machine, the grinder, the mugs, the pods. A single tray pulls it all into one zone. It can sit on the counter or slide onto a shelf.
A wooden or metal tray also catches drips and makes wiping up easy. Add a small bin for filters and sweeteners. Your morning routine gets calmer when everything is within arm’s reach.
9. Attachment Bins

Blender blades, mixer whisks, and food processor discs always seem to vanish. Give them their own labeled bin and keep it right next to the matching appliance.
Clear bins work best because you can spot the one you need without digging. Use a soft liner or small dividers for sharp pieces. Hunting for a missing dough hook mid-recipe is the worst, and this ends it.
10. Pantry Appliance Shelf

Dedicate one deep pantry shelf to appliances you use now and then. Think bread maker, ice cream maker, and pressure cooker. They’re out of sight but easy to grab.
Use the shelf’s height smartly. Stack lightweight items, but keep anything heavy at waist level. A pantry is also a handy spot for extra cords and manuals in a folder.
11. Open Shelf Display
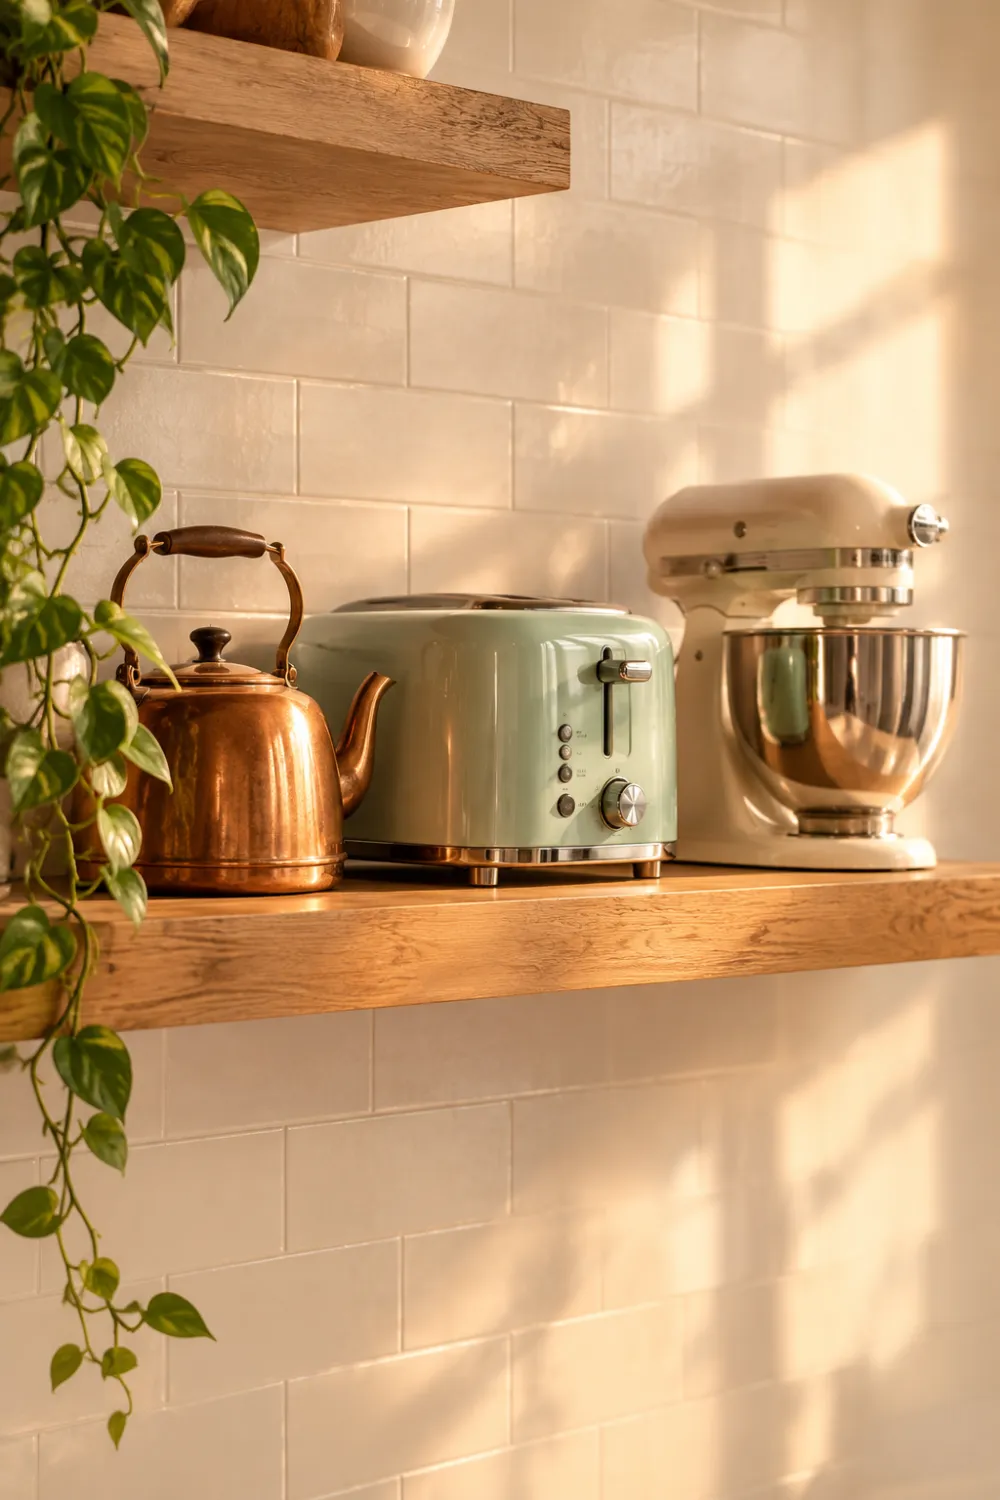
Some appliances are pretty enough to show off. A copper kettle, a retro toaster, or a colorful stand mixer can look great on an open shelf.
Be picky, though. Only display what you use weekly, or it just collects grease and dust. A neat row of three to four items looks styled. Twelve looks cluttered.
12. Above-Fridge Cabinet
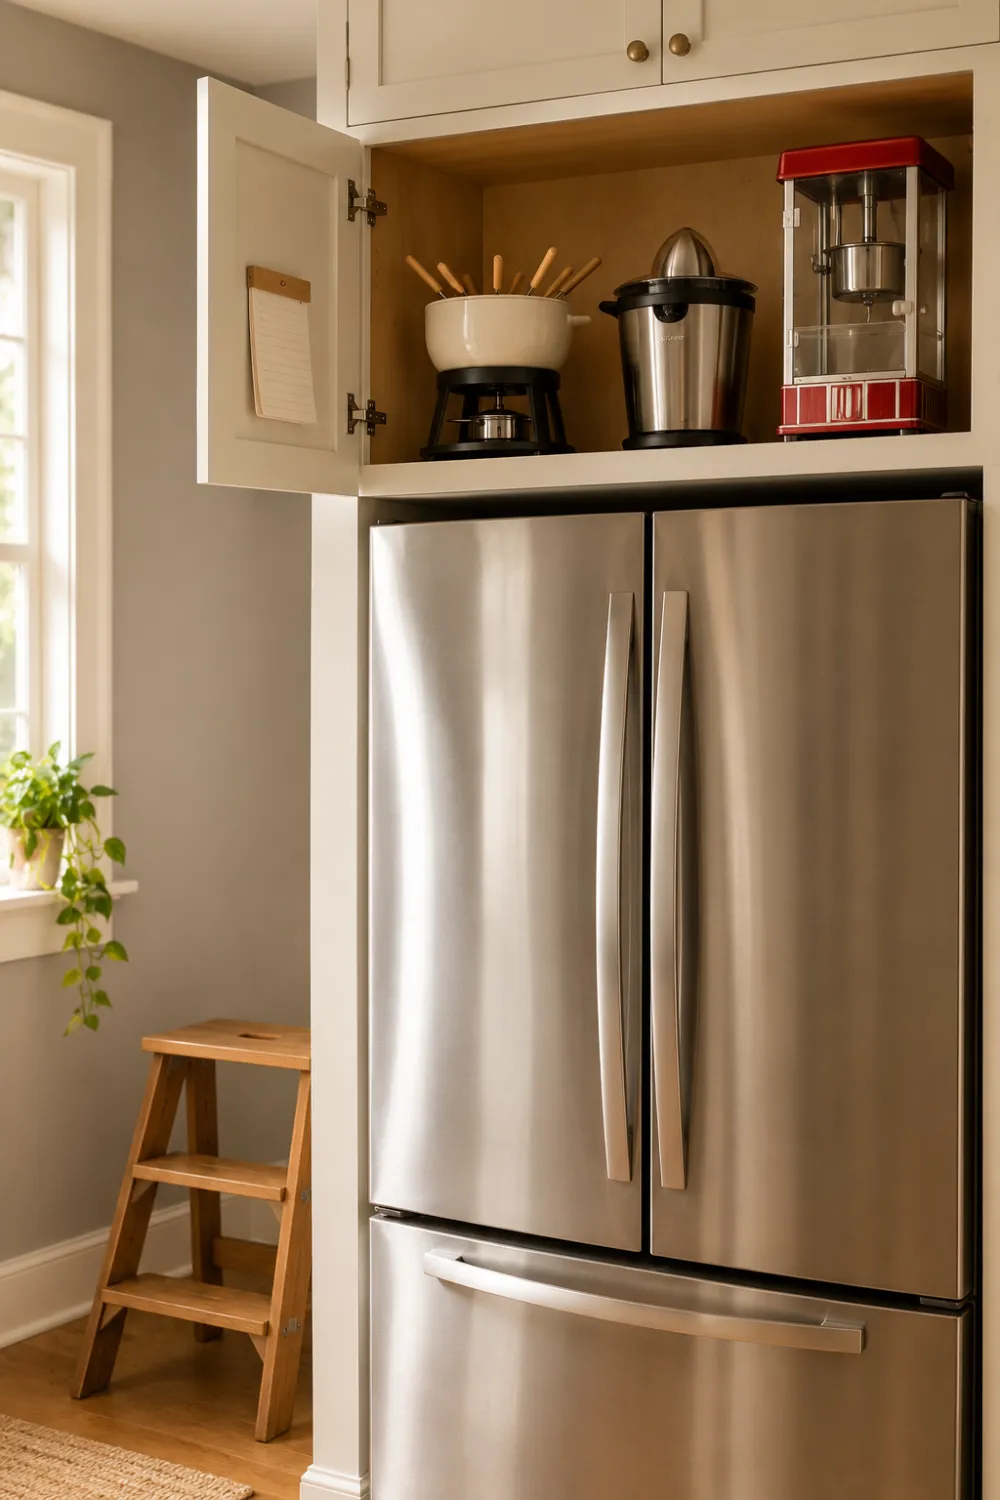
The cabinet above your fridge is hard to reach, which makes it perfect for rarely used machines. Think fondue sets, juicers, and the popcorn maker you pull out twice a year.
Add a small step stool nearby so you’re not stretching. Keep a simple list taped inside the cabinet door. You’ll remember what’s up there, and nothing gets lost in the back.
13. Under-Cabinet Mounts
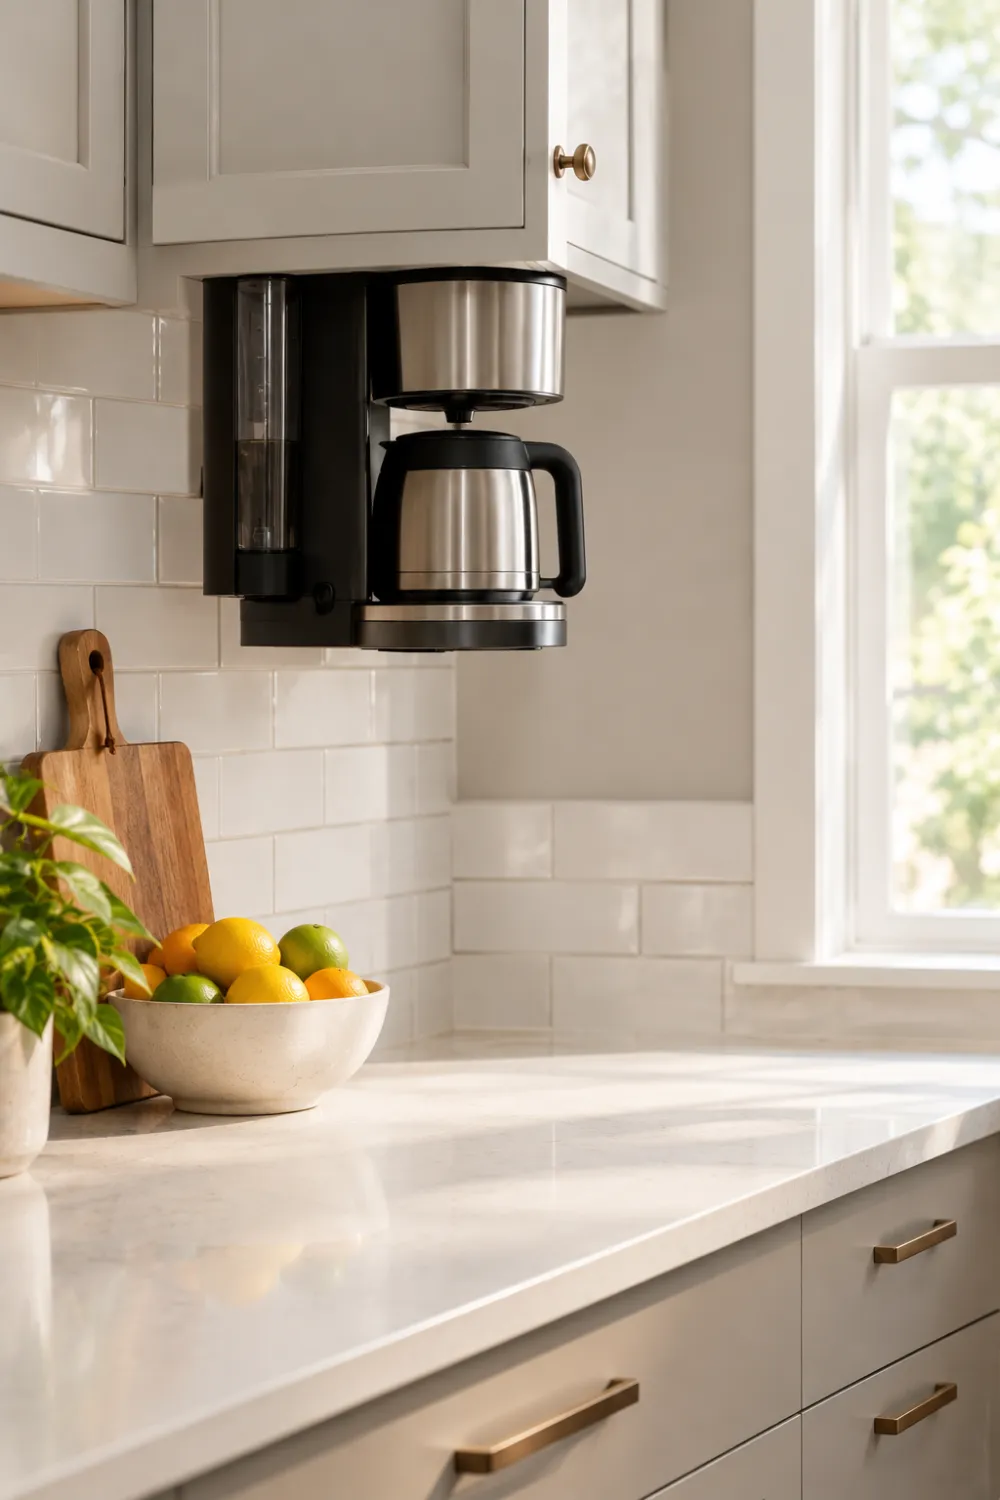
Some small appliances can hang from under your upper cabinets. Mounted toaster ovens, coffee makers, and even can openers free up the counter below.
Check the weight limit and your cabinet’s strength before buying. Make sure there’s enough space for heat to escape. This works well in narrow kitchens where every inch of counter counts.
14. Pegboard Wall
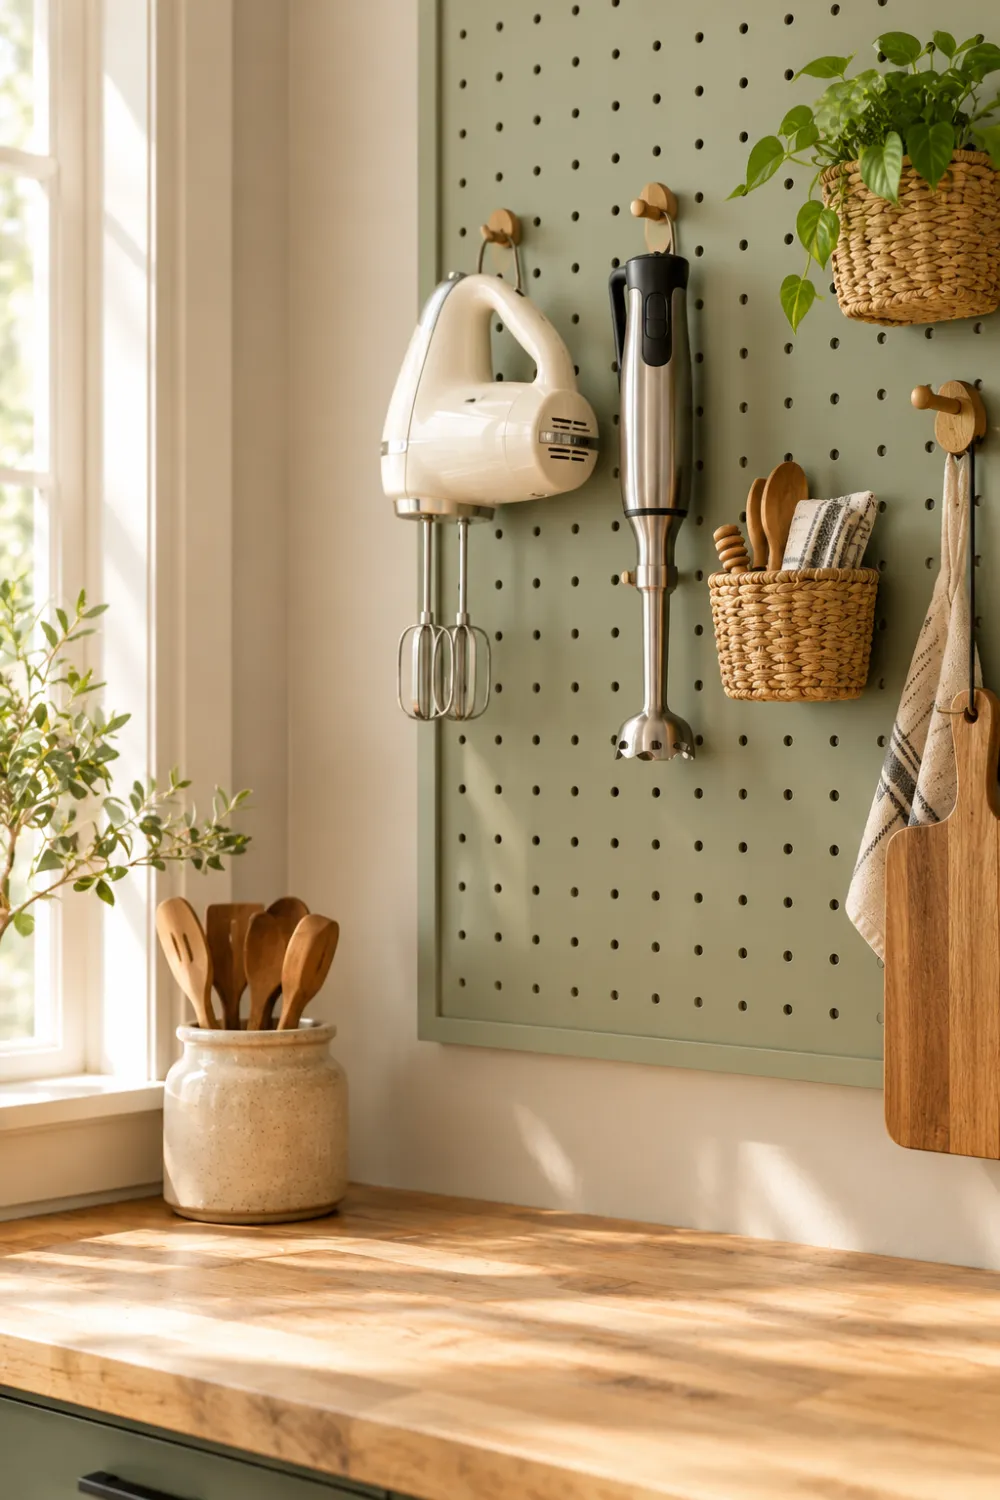
A pegboard turns a blank wall into flexible storage. You can hang light items like hand mixers, immersion blenders, and their cords on hooks and small baskets.
The best part is that it changes with you. Move a hook when you buy a new gadget. Paint the board the same color as the wall, and it blends in instead of looking like a workshop.
15. Microwave Shelf
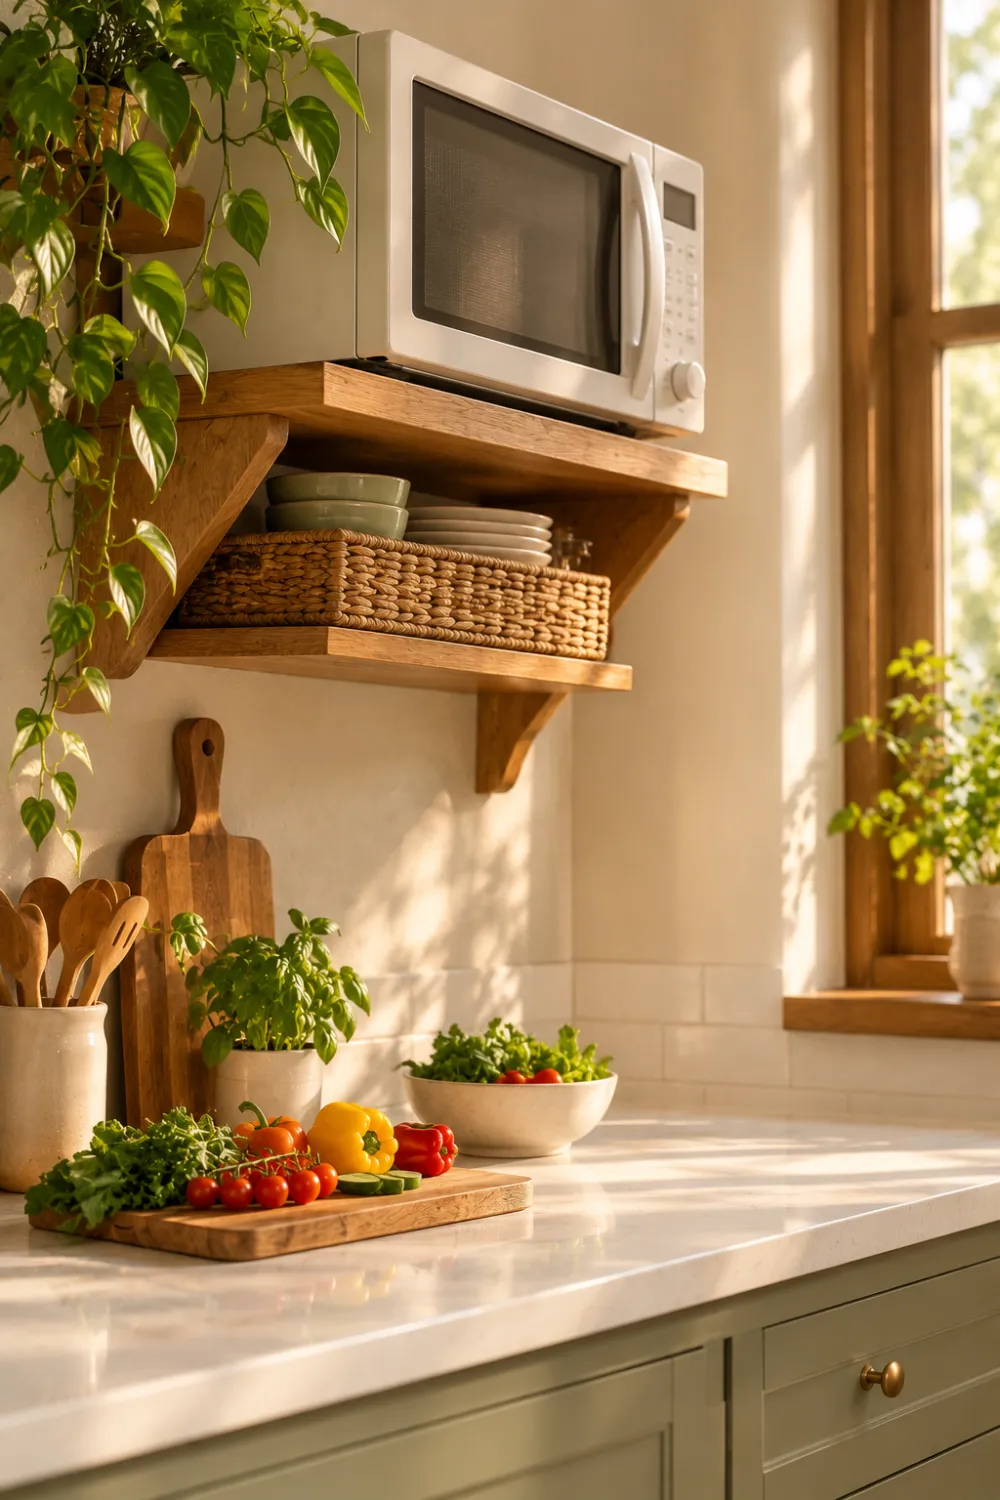
The microwave takes up prime counter space. Move it to a wall shelf or a built-in niche, and you instantly gain room for prep.
Set it at about chest height so you can see inside and avoid spills from lifting hot dishes. If you’re mounting a shelf, use sturdy brackets rated for the microwave’s weight. Underneath, you can tuck a small basket for microwave-safe dishes.
16. Tall Slot Dividers
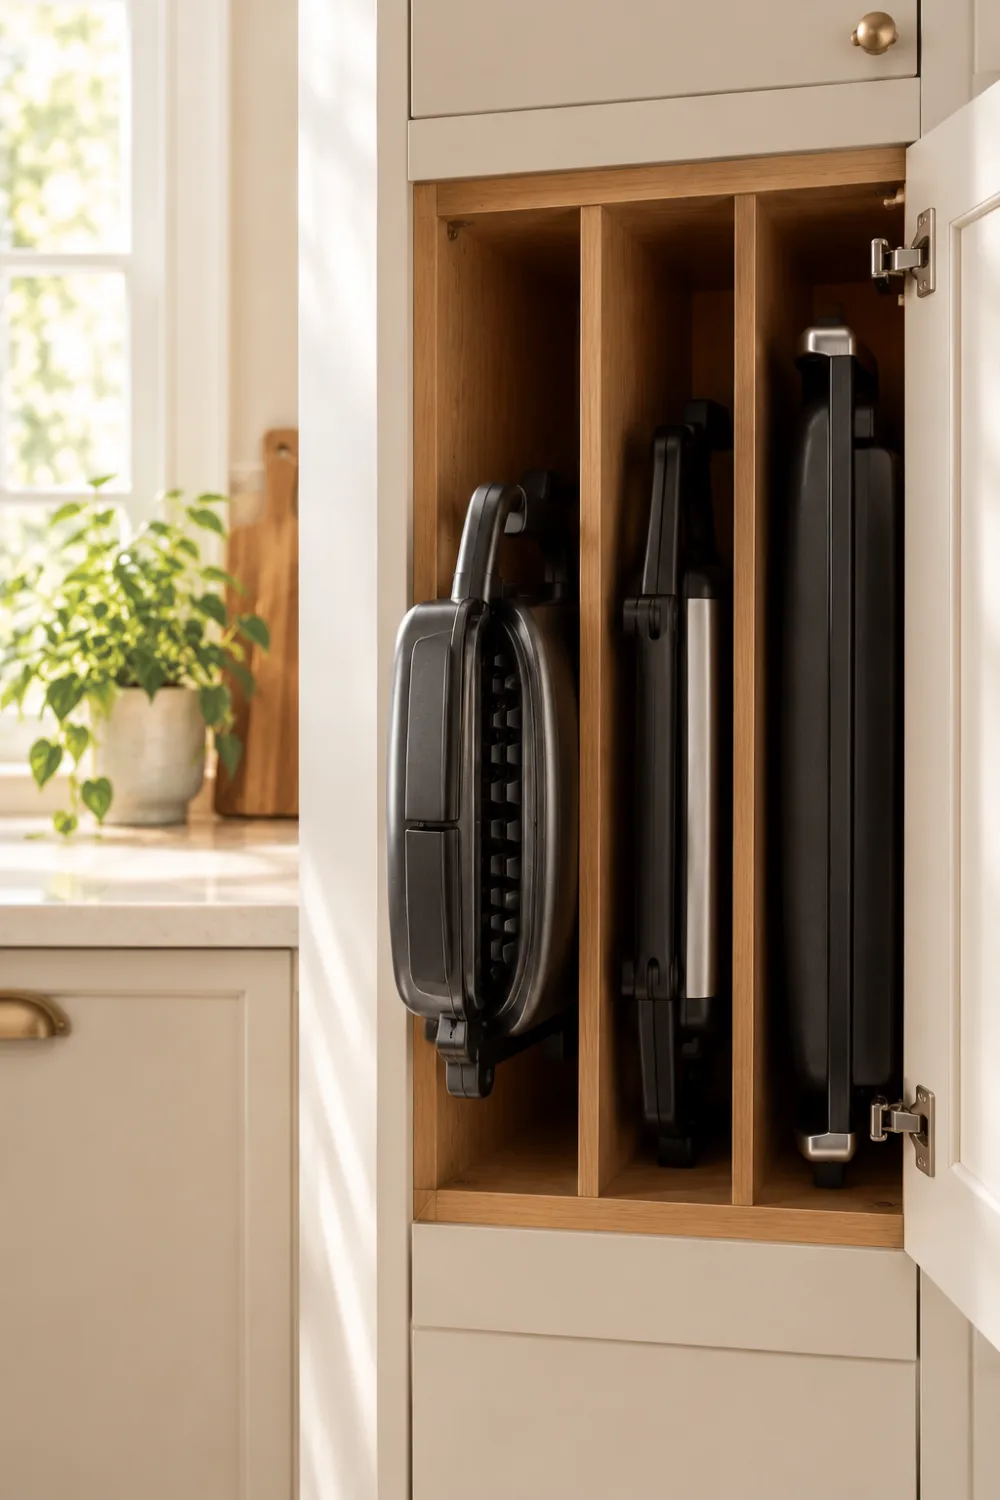
Flat appliances like griddles, waffle irons, and panini presses are awkward to stack. Vertical slot dividers in a cabinet let you stand them up like books.
You can slide each one out without moving the others. Look for adjustable dividers so you can change spacing as your collection changes. It’s a surprisingly satisfying way to use a tall, narrow cabinet.
17. Seasonal Rotation Bin
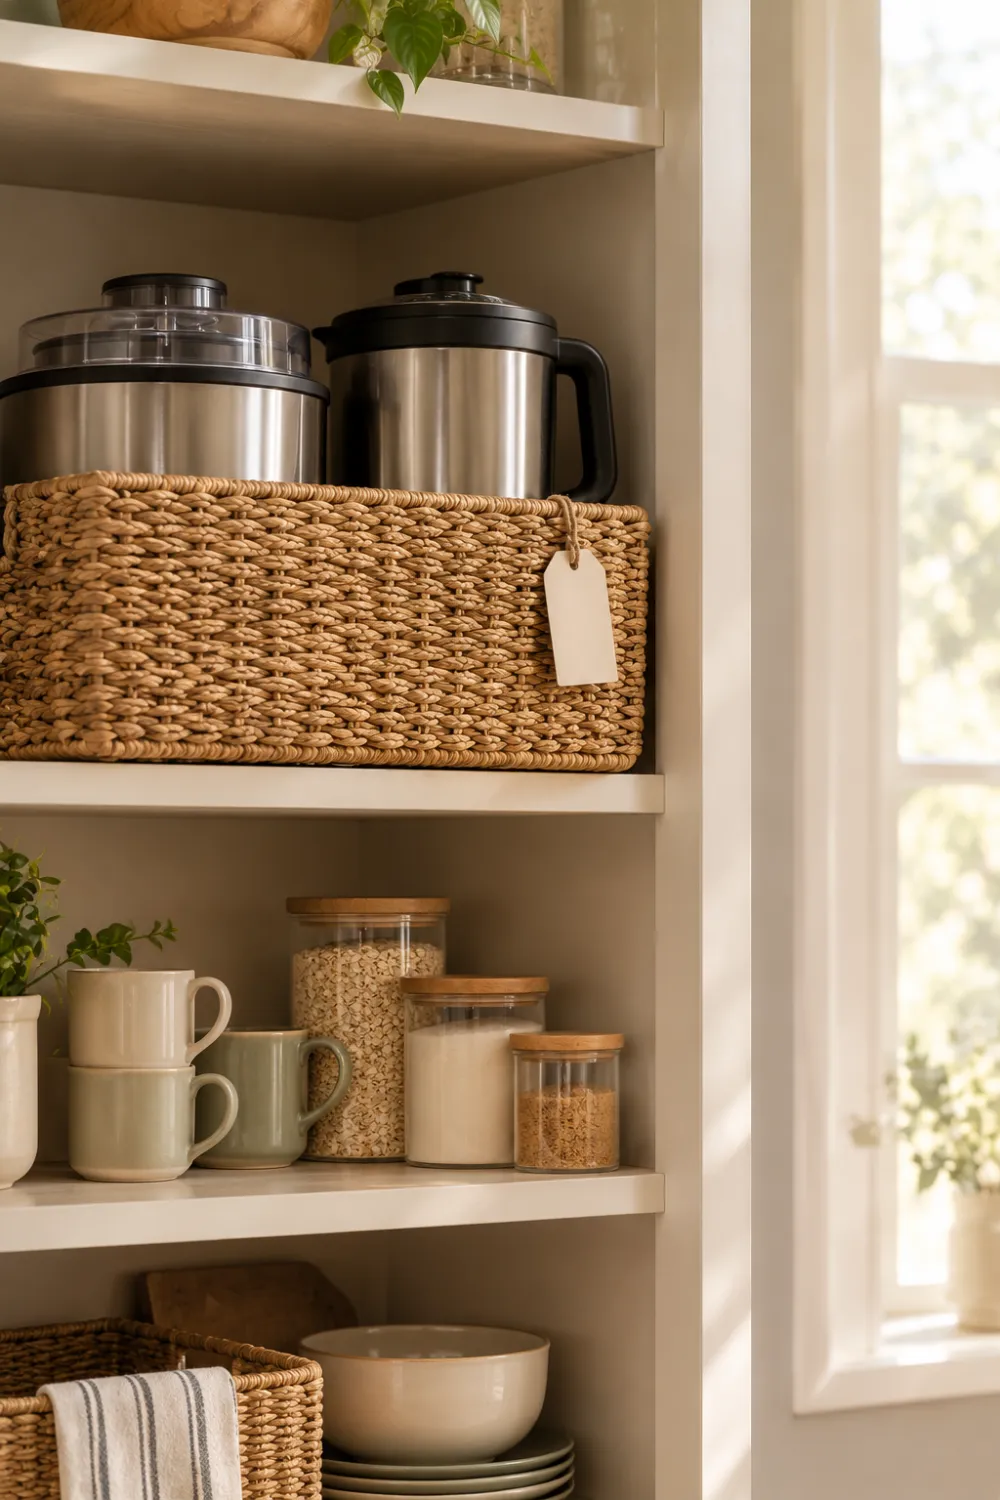
Some appliances belong to certain times of year. The ice cream maker and the soup maker don’t need to share space in July and January.
Keep a labeled bin for the off-season group and swap it out twice a year. It keeps your everyday cabinets less crowded. Pick a date, like the first day of spring, so you actually remember.
18. Island Cabinet Zone

If you have a kitchen island, one section can become your appliance zone. Install deep drawers or cabinets facing the cooking area, and keep your most-used machines there.
It’s ideal for families, since several people can grab what they need at once. Add a little pull-out tray for anything heavy. You’ll cook faster when the blender is steps away from the stove.
19. Inside Door Hooks
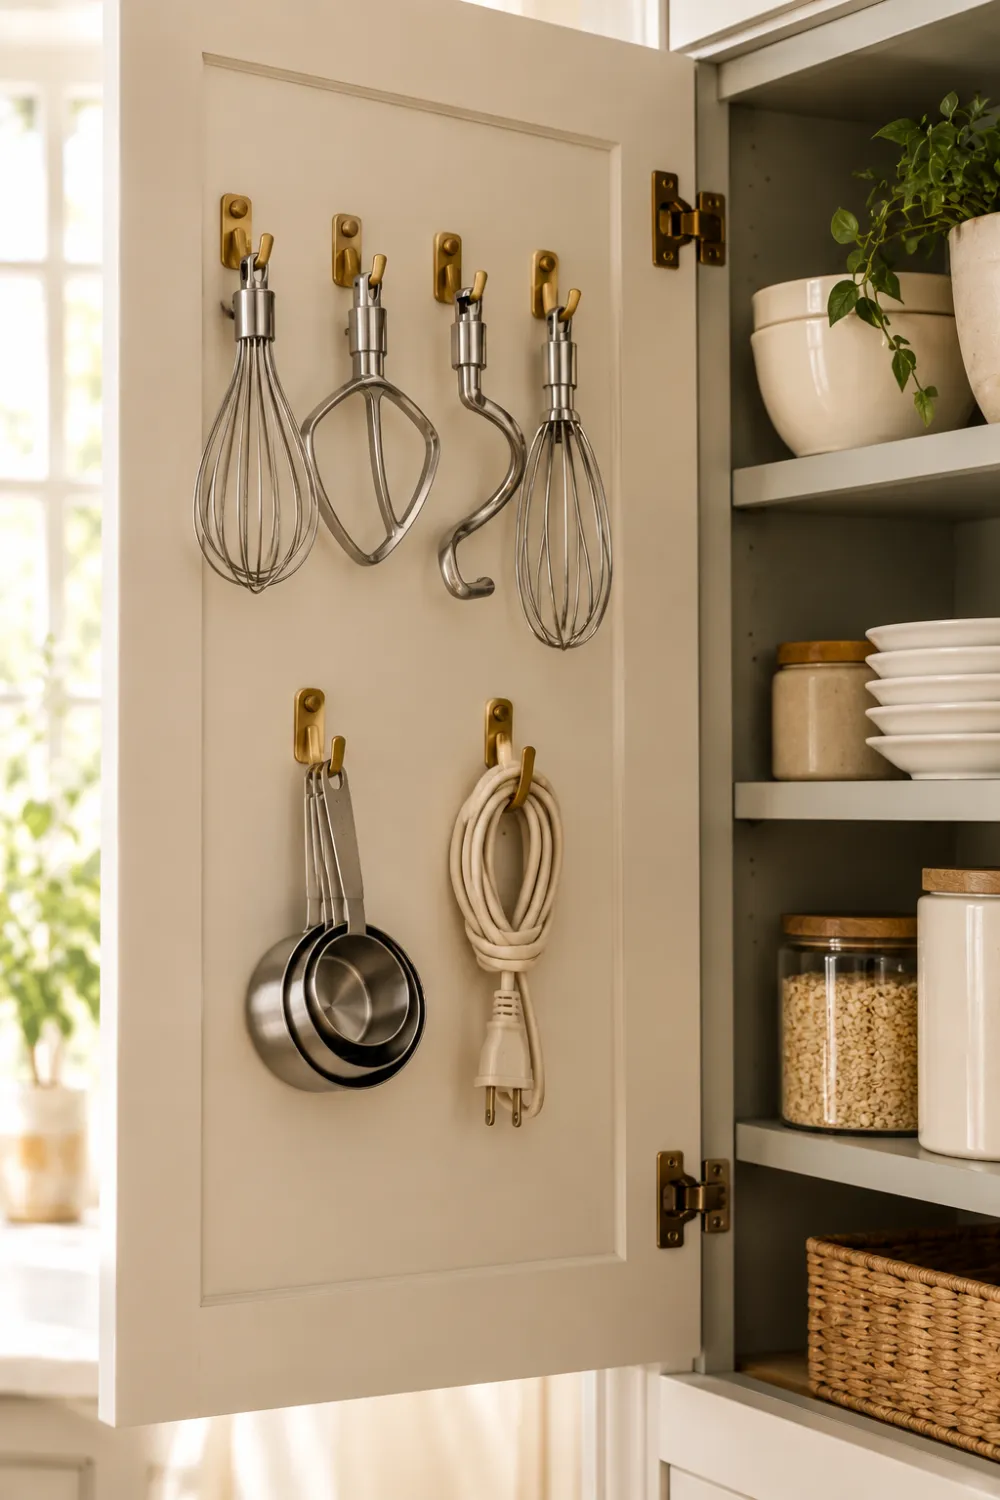
The inside of a cabinet door is wasted space. A few adhesive or screw-in hooks can hold small things like whisk attachments, measuring tools, and a coiled hand mixer cord.
Keep it light, since doors can only handle so much weight. This idea is best for small items that otherwise roll around in drawers. Just check that nothing hits the shelves when the door closes.
20. Bakers Rack
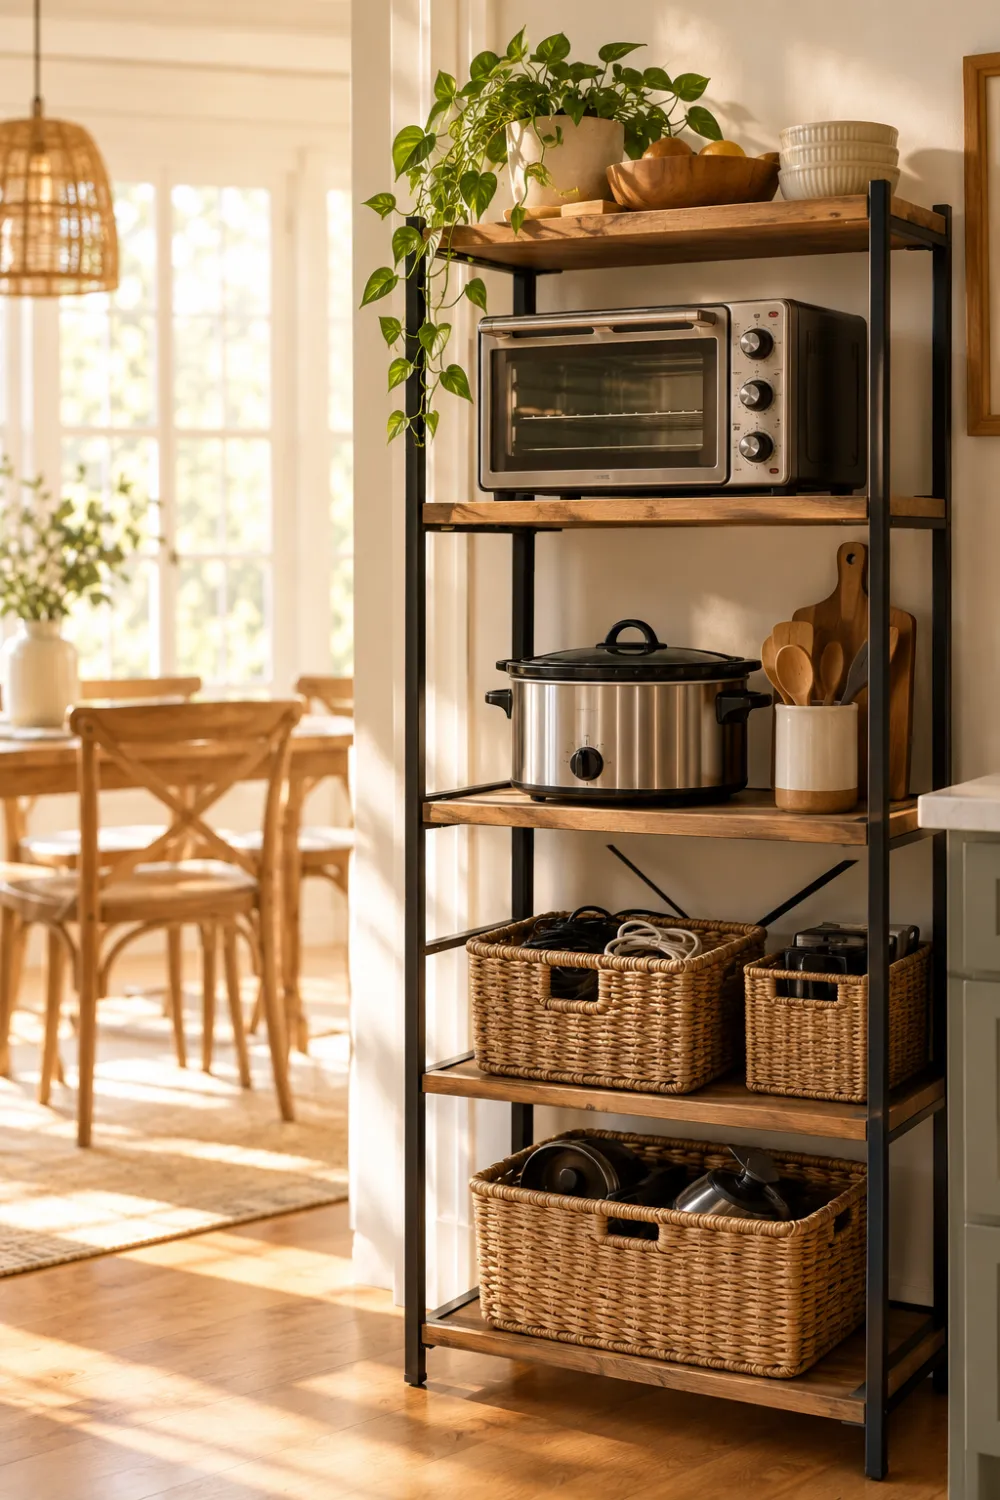
A baker’s rack gives you open shelving without any building. It works well in kitchens with little cabinet space, or in an empty corner of a dining area.
Put the toaster oven and slow cooker on the sturdy shelves, and keep baskets for cords and accessories lower down. Choose a metal or wood style that matches your kitchen. It’s a friendly option for renters, too.
Conclusion
The best kitchen appliance organization ideas are the ones that match how you actually cook. Think about what you use daily, what comes out monthly, and what only appears at holidays. Give daily machines easy spots and tuck the rest away. Start with one small change this weekend, and enjoy how much calmer your counters feel.